Month: March 2007
RC
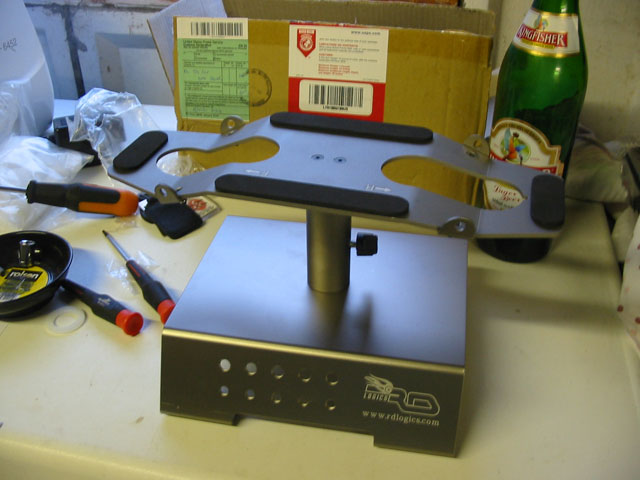
My LST RD Logics stand arrived !
Today when I got home I was greeted with a parcel, inside I found my new RD Logics…

RC
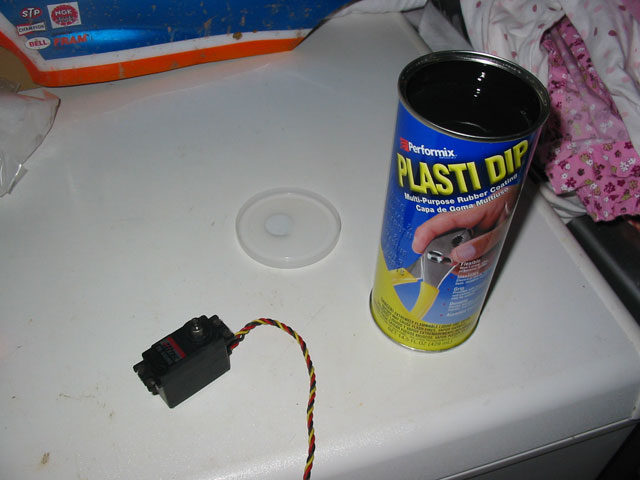
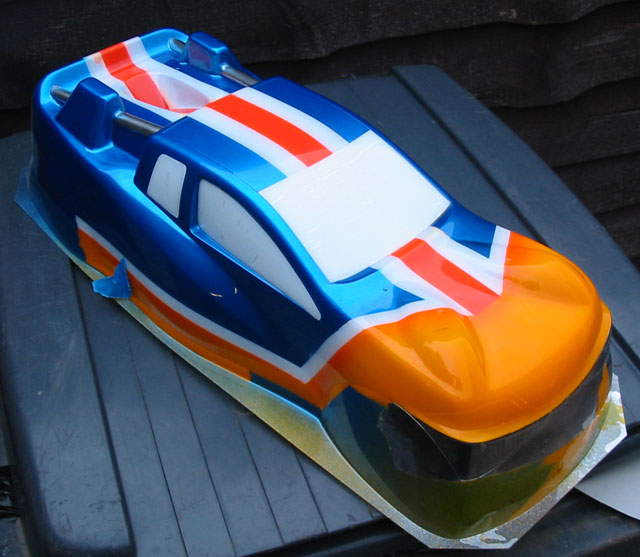
Shell Painting: V … Having Fun
The weather today was just great, so I could have not picked a better day to try out…
RC
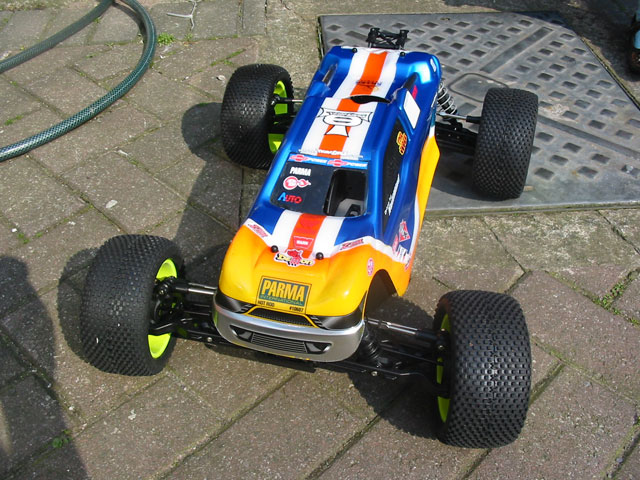
Shell Painting: 4
With tomorrow being a racing day, I pushed extra hard to try and finish the shell for tomorrow’s…
RC
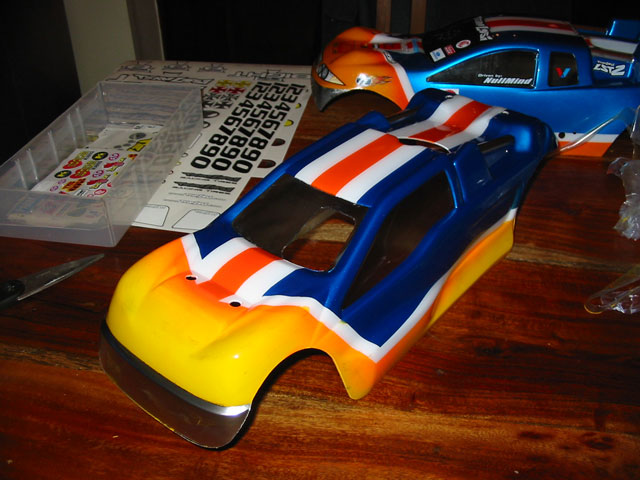
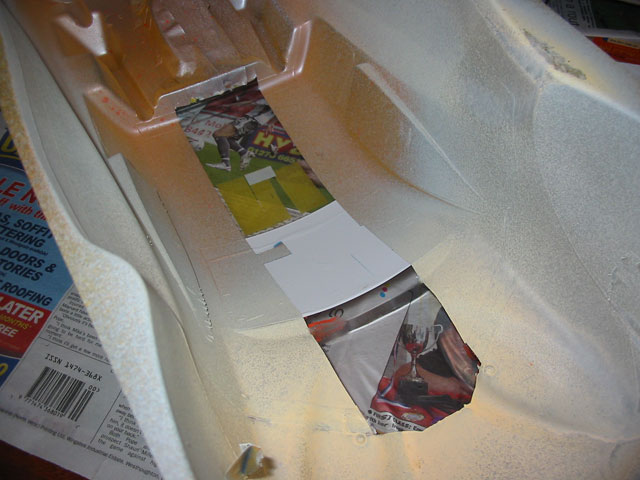
Shell Painting: 3
My goal for today was to remove the center strip of masking tape, clean any overflow of paint…

RC
Shell Painting: 2
aright .. part II of the project To start, after reading and getting some advise on lstforums on…
RC
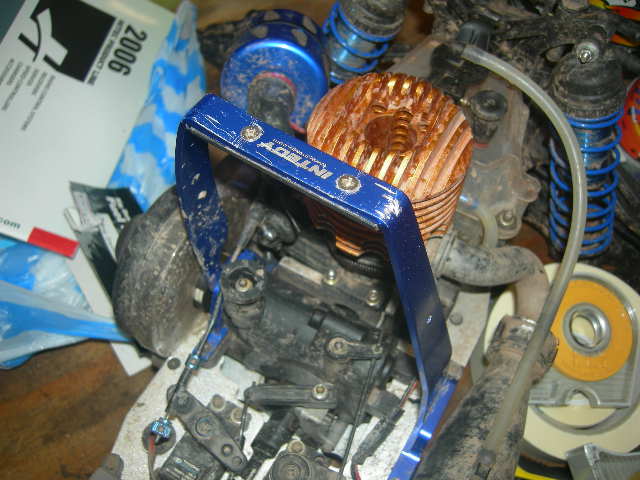
OK .. I am an idiot … “Integy” does SUCK !!!
A few weeks back, I posted how I had installed an Integy Roll Bar on my LST2 And…
RC
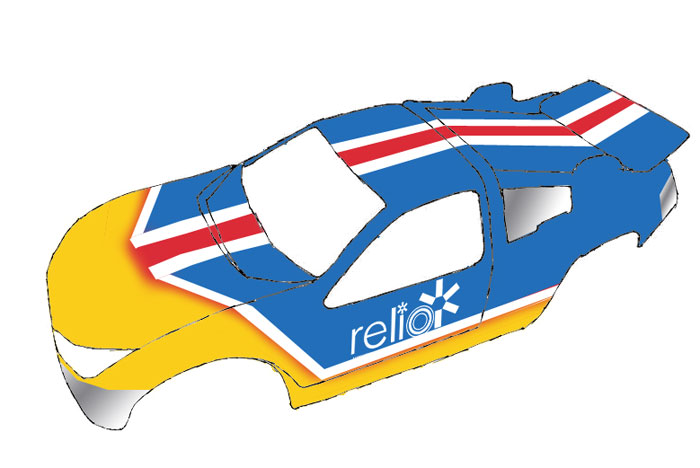
Shell Painting: 1
I’ve started work on my LST racer shell, I have never painted a shell before, so I am…