Tag: Losi
About a week ago, I was talking to my rep for Horizon Hobby when the subject of “sponsored” drivers came up, he felt that in…
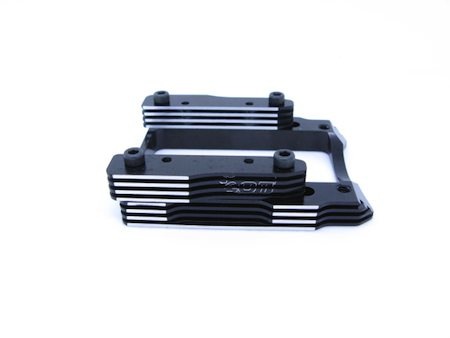
We received a shipment of new Fioroni parts today, and some of them really surprised me 🙂 My first pleasant surprise was the new Losi…
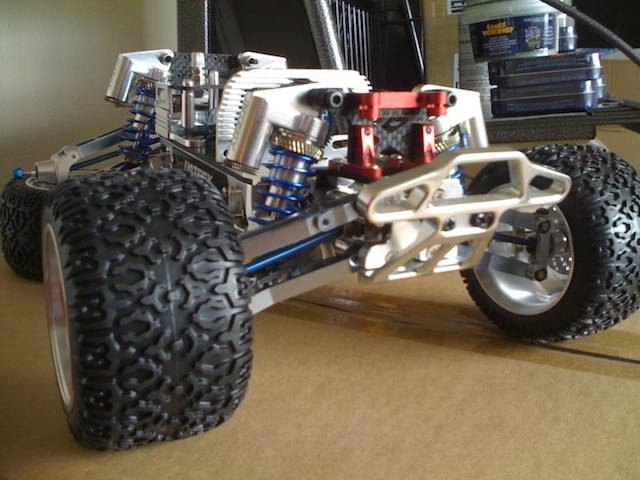
Here are some updated pictures of my Mini-LST Project No Standard parts, all upgrades, most of them I had to outsource from the US, so…
On March of last year, Ash from BMM posted a howto on modifying the SMD box to work with the Losi 8IGHT-T Since then, it’s…
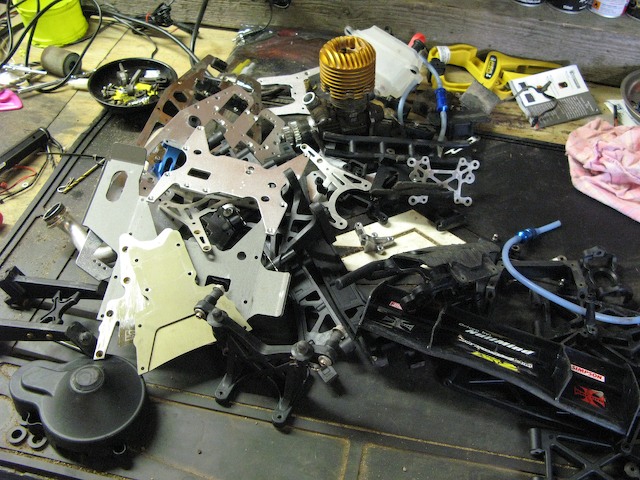
Amongst all that is an actual Losi LST2 .. in bits